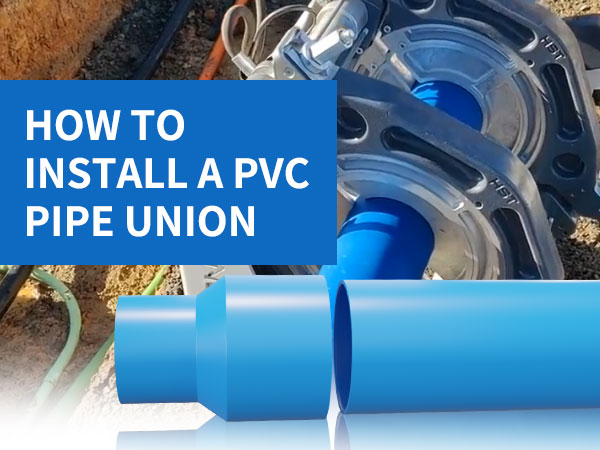
In PVC piping systems, PVC pipe unions are crucial detachable connection fittings. They are widely used in water supply and drainage systems, industrial pipelines, irrigation systems, and equipment interface locations, facilitating future maintenance, replacement, or repair.
Many people are familiar with installing standard PVC straight pipes but are less familiar with the correct installation steps for unions. In fact, improper installation of unions can easily lead to leaks or seal failure. This article will detail the structure, installation steps, and common mistakes made with PVC unions.
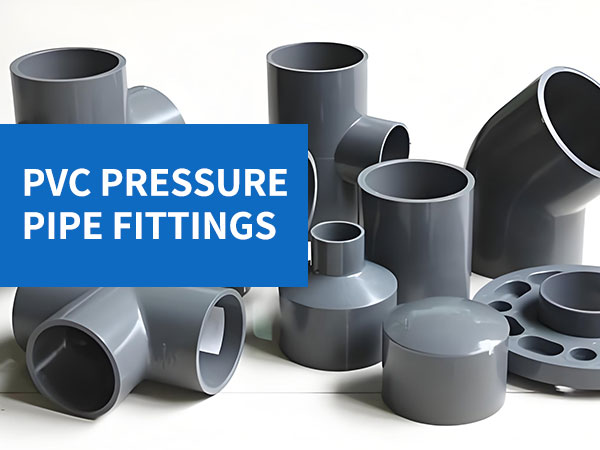
What is a PVC Union?
A PVC union is a three-part connector:
Socket Ends – bonded to the PVC pipe
Union Nut – used to lock the connection
O-ring/Flat Seal – ensures a tight seal
Unlike standard straight pipes, unions can be disassembled without cutting the pipe, making them ideal for:
Pump inlets and outlets
Valves
Equipment requiring regular maintenance
Preparations before installation:
Before installation, prepare the following tools and materials:
PVC pipe cutter or saw
Clean cloth or paper towels
PVC cleaner (Primer, optional)
PVC glue (Solvent Cement)
Measurement tape and marker
Also check:
The union seal ring is intact.
The socket is free of cracks or burrs.
How to install a pvc pipe union
Step 1: Cut the PVC Pipe
Cut the pipe to the required length, ensuring the cut is perpendicular; otherwise, it will affect the bonding depth and seal.
After cutting, you should:
Remove burrs
Dry off dust and moisture.
Step 2: Test Insertion to Confirm Depth
Without applying adhesive, insert the pipe into the union socket to confirm the insertion depth and mark it on the pipe with a pen. This step prevents incomplete insertion during bonding.
Step 3: Disassemble the Union
Very Important!
Before bonding, the union must be disassembled into three parts.
Many beginners glue the entire piece together, only to find the nut locked in place, rendering the union unremovable.
Step 4: Clean the Bonding Surface
Wipe the outer wall of the pipe and the inner wall of the socket with a dry cloth. If necessary, use PVC cleaner to ensure:
✔ No dust
✔ No oil
✔ Surface is dry
Step 5: Apply PVC Adhesive
Apply adhesive evenly to the following two areas:
The outer wall of the pipe where it will be inserted
The inner wall of the socket
Apply the adhesive quickly and evenly, avoiding accumulation or missed areas.
Step 6: Insert and Rotate
Quickly insert the pipe into the socket to the marked position, while rotating it about 1/4 turn to help distribute the adhesive evenly.
Then hold it in place for 20–30 seconds to prevent springback.
Repeat the same steps to the other end of the union.
Step 7: Wait for Curing
PVC adhesive needs time to cure:
| Ambient Temperature | Minimum Waiting Time |
| >20°C | 15–30 minutes |
| 10–20°C | 30–60 minutes |
| <10°C | More than 1 hour |
It is recommended to wait 24 hours before full pressure is applied.
Step 8: Install and connect the sealing ring
After both ends are fully cured:
Check that the sealing ring is in the correct position
Align both ends
Hand-tighten the nuts until secure
Usually, hand-tightening is sufficient. If tools are needed, apply only slight force; excessive force may damage the sealing surface.
Common Installation Mistakes
❌ Gluing without disassembling
This turns the joint into a “fixed joint,” rendering it unrepairable.
❌ Applying too much glue
Excess glue flowing into the pipe may cause blockage or corrode the sealing ring.
❌ Forcing tighten without proper alignment
This will cause uneven stress on the sealing surface, leading to leaks later.
❌ Ignoring the curing time
Passing water through before curing can easily cause leaks at the joint.

Recommended installation locations for union couplings:
PVC union couplings are particularly suitable for installation at:
✔ Both ends of a water pump
✔ Valve inlet and outlet
✔ Before and after a filter
✔ Equipment connection points
Not recommended for prolonged use in environments with frequent vibration or high temperatures.
Post-Installation Inspection
Before turning on the system, the following checks should be performed:
Visually inspect for tilting;
Touch for any looseness;
Test with low-pressure water to check for leaks.
If leaks are found, disassemble the system again to check if the sealing ring has shifted or is damaged.
Properly mastering the installation method of a PVC pipe union can significantly improve the reliability of the piping system and the convenience of later maintenance. Although the steps are not complicated, every detail is related to the sealing effect and service life.
Standardized construction, proper location selection, and avoidance of common mistakes are essential for PVC unions to truly realize their core advantage of “detachable connection”.


